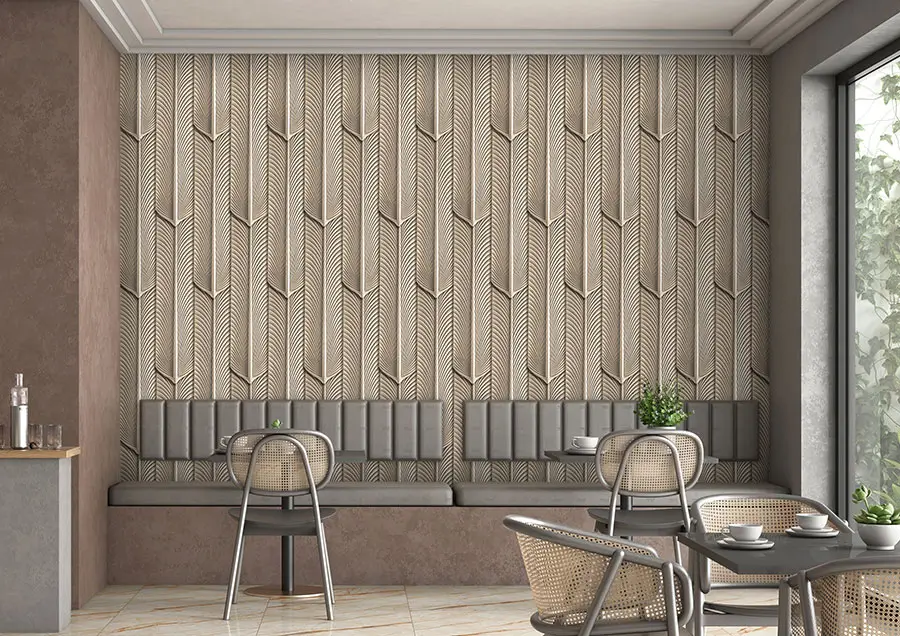
PU wall panels are a fantastic option for home and office renovations. These panels offer superior options, are long-lasting, and provide uncompromising luxury. However, achieving seamless interiors depends heavily on precise PU wall panel installation.
Improper installation can result in the poor appearance of your space. To help you with the process, we have provided you with some DIY PU wall panel installation tips. So, why do you hesitate? Let's study the manual.
A Step-By-Step Guide For PU Wall Panel Installation
1. Tools and Materials Required
The installation process begins with preparing the necessary tools. Having everything you need simplifies and eases the installation procedure. So, before we begin the installation, let's examine what you plan to gather.
- You first need PU wall panels in a dry, clean shape.
- Specialized adhesives to your walls to attach the PU panels.
- A utility knife for making longitudinal cuts.
- To measure precisely for waste management and exact cuts, use a measuring tape.
- A leveller tool to guarantee that panels are set up consistently in height.
- Sealant to make sure the panels are not separated.
2. Prepare The Surface
To guarantee the strength and duration of the adhesive, the surface must be prepared before installation. The PU wall panels might sustain damage from dirt, grime, and unwanted substances that are present on the surface.
- Furniture and other objects (if any) that are close to the surface should be removed.
- Take care to thoroughly clean the surface with a brush, making sure to get rid of any dust or dirt.
- For further cleaning, a vacuum can also be used.
- Use a moist towel to wipe the surface after dusting.
- Let the surface dry completely before starting the installation.
- Don't forget to look for surface cracks.
3. Accurate Measuring and Cutting Of The Panels
Keep in mind that the most crucial stage of the entire PU wall panel installation process is measuring and cutting panels. For a precise knowledge of the procedure, thoroughly follow the below points.
- The exact measurements of the area where the panels will be installed should be taken.
- Selecting the appropriate cutting tool comes next after gathering the dimensions.
- For precise cuts, use the utility knife, which is sharp.
- When cutting, be careful to abide by the safety precautions.
- Don't forget to measure twice before you cut. Mark measurements carefully using a pencil and measuring tape.
4. Use Of Adhesive
To guarantee that PU panels have a strong connection with the walls, adhesive preparation and application are essential steps. Here are some tips and tricks to keep in mind when doing this.
- To get a solid bond and make the glue appropriate for installing PU wall panels, use an industrial-quality adhesive.
- Utilizing a caulking gun, you may coat the surface with the adhesive.
- Using a knife, evenly distribute the adhesive on the panel's backside.
- Verify that there are no air bubbles and that the coating is uniformly smooth.
- Keep in mind that too much glue can cause problems with PU panels sticking well to the surface.
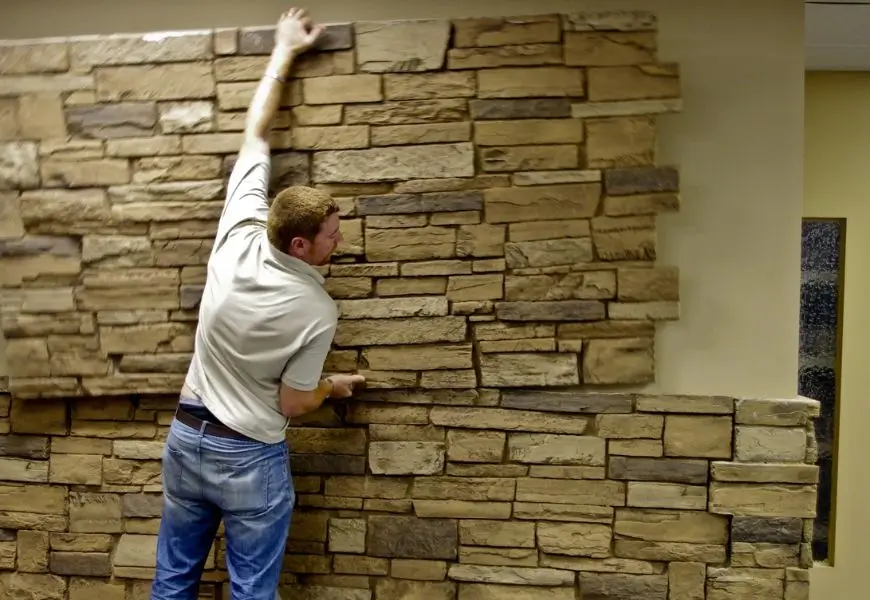
5. Installation
Installing PU panels on the wall is the next stage. The procedure needs to be followed with caution and attention. Here is a tutorial to help you better understand:
- When it comes to adding ornamental components, starting with a corner always makes the procedure easier. Thus, you are free to begin in any part of the room.
- Make sure the PU panels exactly line up with the glue by gently positioning them against the wall.
- Using gentle pressure, push the panel over the surface.
- Cross-check the panels for gaps between neighbouring ones after attaching them.
6. Finishing
The last steps in creating a polished and visually acceptable surface are caulking and trimming. This is how you can put these instructions into practice.
- After installation, look for any overhanging items from the walls. Make sure the finish is clean by removing these items with a sharp utility knife.
- Fill up the existing spaces between panels with caulk. It facilitates the precise sealing of the gap between related panels.
- After caulking is finished, check again for any areas that were missed and finish the finishing.
Things To Remember For Perfect PU Wall Panel Installation
To guarantee the strength and duration of the adhesive, the surface must be prepared before installation. The PU wall panels might sustain damage from dirt, grime, and unwanted substances that are present on the surface.
- Make sure to use certified and quality adhesive for the installation of PU wall panels.
- Before you begin with the process cover the nearby furniture and surfaces.
- Never use harsh chemicals and cleansers to clean application surfaces.
- Remember the rule to measure twice and cut once before installing PU panels.
- Follow proper manufacturer installation guidelines to ensure accuracy.
- Stick to the safety guidelines throughout the process.
Final Words
In summary, PU wall panel installation is a comprehensive process that requires focus and attentiveness. By following the above steps you can create an ideal ambience in your space with the beauty of PU panels. However, in case of any confusion connect with the professional installer for the right guidance.
Leading PU Wall Panel Manufacturer
As a proud representative of Artisun Industries, a leading PU Wall Panel manufacturer, I bring our expertise in crafting high-quality, durable PU Wall Panel tailored to meet diverse architectural needs. Join us in exploring innovative solutions that transform spaces beautifully!